Create Roses From Maple Leaves
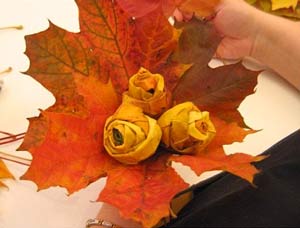 While you are out hiking in the Adirondacks, collect a few maple leaves along your way. We have a great craft idea!
Did you know you can turn maple leaves into beautiful roses? It's much easier than you'd think!
Ladies, these bouquets are perfect for fall decorating around the house.
Guys, these bouquets are perfect for surprising that special woman in your life!
Now let's get started...
Step 1 - Fold the maple leaf in half horizontally (tip touches stem)
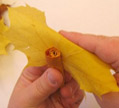
Step 2 - Roll the leaf tightly from end to end to establish the very center of the rose
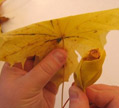
Step 3 - Fold another leaf in half and wrap it fairly tightly around the first
Step 4 - Fold another leaf in half and wrap a little more loosley than the previous one
Step 5 - Fold another leaf and wrap even more loosely
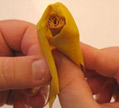
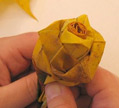
Step 6 - Continue wrapping leaves until rose fullness is reached
Step 7 - Secure the rose base with string to hold it together
Step 8 - Combine roses and surround with leaves, berries and ferns for a beautiful bouquet
A few tips...
- Freshly fallen leaves work best, not crisp or crumbling leaves
- Use smaller leaves to start, getting larger as you follow each step
- Leave the stems on each leaf for a more secure base
- Try to find leaves of similar colors to create each rose
- If you don't have string on hand, try a flexible vine stem to secure the roses
- Wrap leaves around a tall stick to create a faux stem
Images courtesy of http://haha.nu/