Wildlife Photography Guide
From turtles to fishers, the six million acre Adirondack Park is packed full of wildlife. While some species are extremely common, others are much more reclusive. Indeed, you may see an Adirondack moose once in your lifetime, or not at all.
However, it's those special encounters with wildlife that you want to remember and record. If you have a camera and are looking to start taking photos of wildlife in the Adirondacks, or anywhere for that matter, then we've got you covered in our Wildlife Photography Guide.
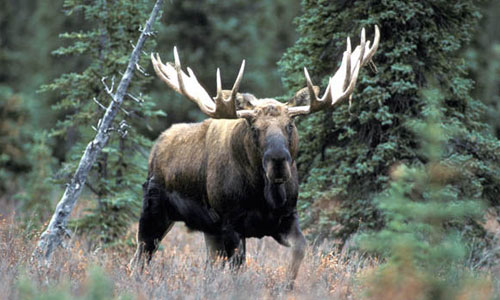
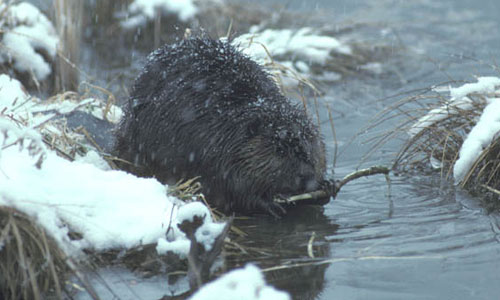
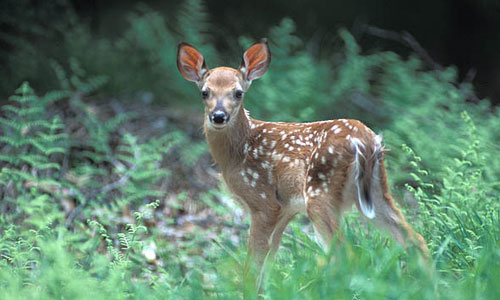
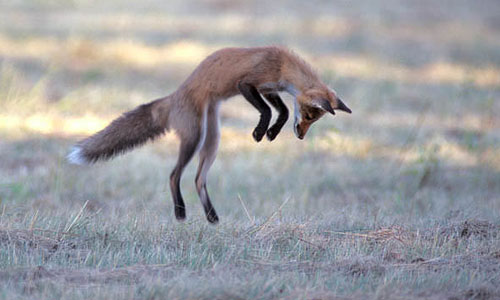
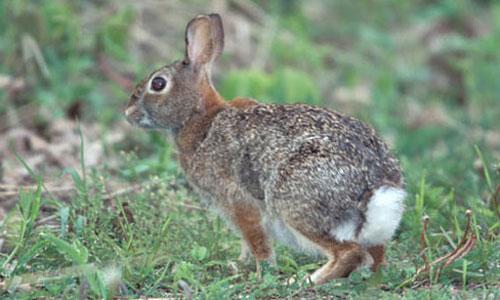
View a slideshow of photos by wildlife photographer Gerry Lemmo below.
Top 10 Wildlife Photography Tips
Wildlife photography is a fun activity, but if you're an amateur photographer, you may not know where to begin. Luckily for you, there are 10 wildlife photography tips that are recommended by most professional photographers.
1. Research your camera. Most cameras, from a point and shoot to the highest end DSLR, will give you some flexibility depending on the type of shot you want to take. If you know its settings, then you'll be ready for most situations.
2. The action can happen fast, so be ready to get your shot. You never know when that bald eagle might fly away.
3. Similarly, be patient! You don't want to scare the target and get a blurry photo.
4. Take lots of photos. It's easier to sort through and find the best ones than to plan out one perfect shot.
5. While the "golden hour," the first and last hour of the day (after sunrise and before sunset), usually provides the best light for photos, many great photos are shot during the day too. It's up to you to decide what you want a photo of, where you should go, and what time you want to aim for.
6. Visit a local park! Start your wildlife photography journey with some easier photos. Try to capture a photo of a butterfly, a goose, or maybe even a deer.
7. Talk to people! Ask questions and someone might have a great tip for you to capture a unique photo.
8. See if you can tell a story with the photo. Ask yourself what is the most interesting part? Do you want a close-up, or do you think the background is an important part of the photo?
9. One of the main questions is whether a photo of a great moment captured imperfectly is better than a perfectly captured but bland image? The answer is up to you!
10. Have fun!
5 Smartphone Photography Tips
As technology has advanced, so too has the camera quality of smartphones. You can compare and contrast smartphone camera pixel quality all day, but in regard to wildlife photography, there are 5 essential tips to follow if you want great photos.
1. Tap your camera screen in order to bring your subject into focus. This will help you get a clearer image of the animal.
2. Turn on auto-tracking when taking photos of fast moving animals or birds. This setting allows you to move your phone with the animal while keeping them clearly in focus.
3. Utilize burst mode. This mode takes multiple photos in quick succession, which makes it more likely you'll catch a bird with its wings outstretched or a deer mid-leap.
4. Don't be afraid to zoom in! Zoom quality has improved dramatically over the past several years, so as long as you're not zooming in excessively, the quality of your photo should stay the same.
5. Enable the grid lines on your camera. This will help you create optimal composition of your photo and will enable you to visualize the rule of thirds (which encourages you to balance the image and place important parts of the photo at the intersections of the grid).
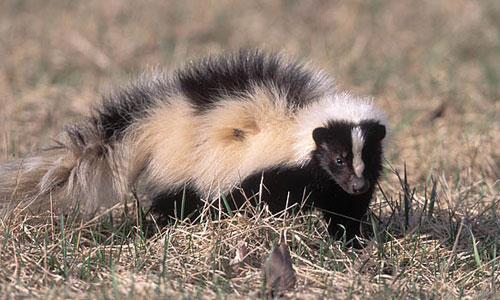
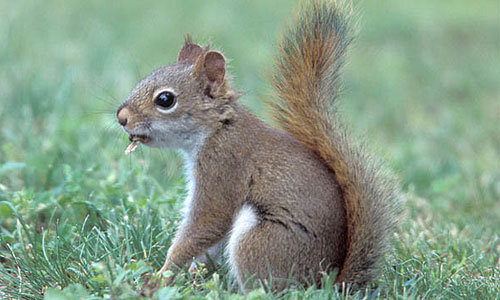
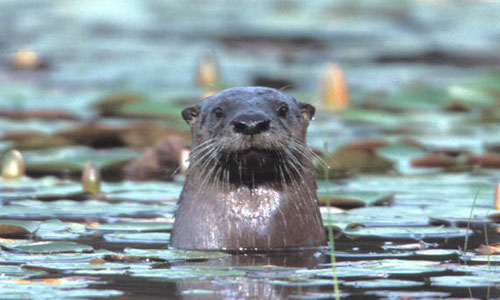
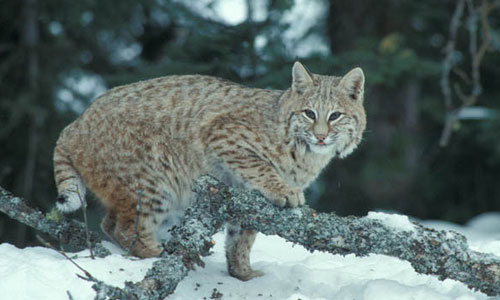
Wildlife Photos by Gerry Lemmo
Check out our Loon Calls and Photos Guide »
Sources:
https://www.naturettl.com/how-to-use-a-smartphone-for-nature-photography/
https://www.reddit.com/r/mobilephotography/
https://digital-photography-school.com/rule-of-thirds/
